Net Disk Client
I. Introduction
The brand new GpuGeek Net Disk Client is online, offering multiple convenient features for more efficient data transfer.
- Graphical interface, making file management easier
- Supports breakpoint resume for interrupted transfers
- Supports large file uploads
- Supports uploading entire folder directories
- Supports drag-and-drop upload
- Supports line switching
II. How to Download
Download Method 1:
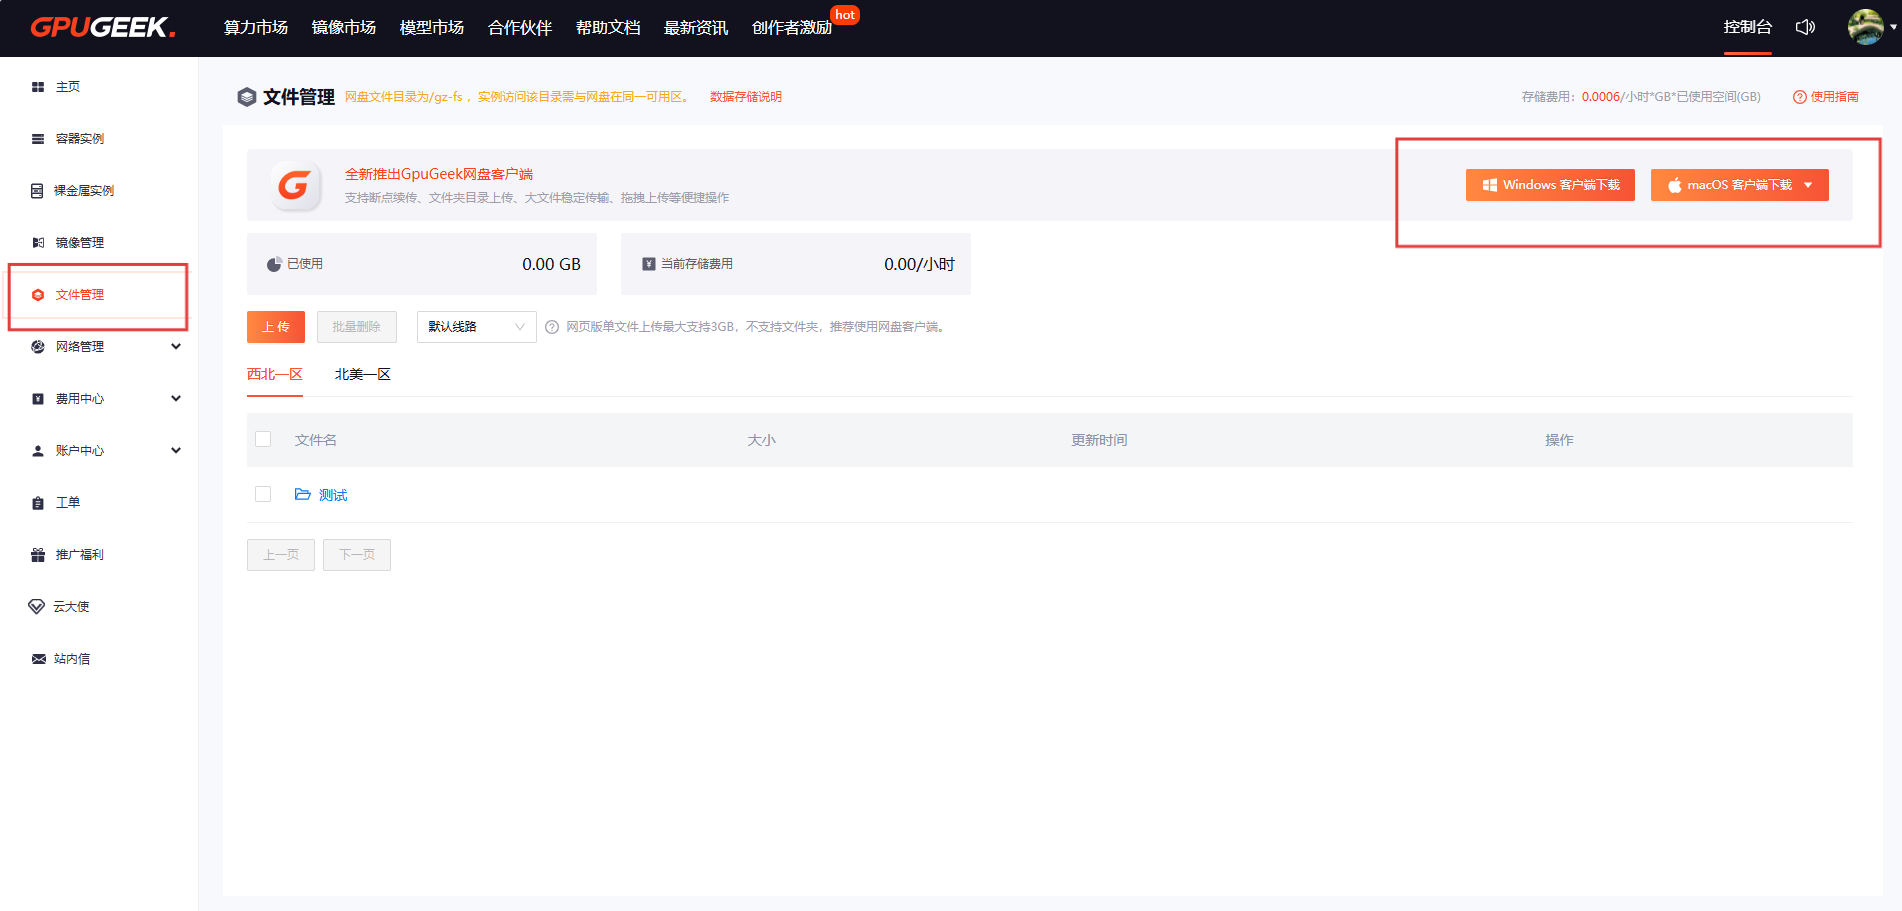
Download Method 2: From the Console interface → File Management page, download the Net Disk client.
You can choose between Windows and macOS versions. For macOS, select Intel or Apple Silicon versions accordingly.
III. Install Client
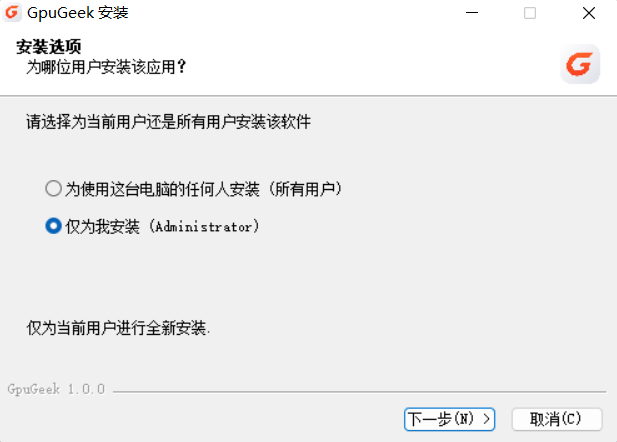
Windows Version
- After downloading the installer, click it and choose the user.
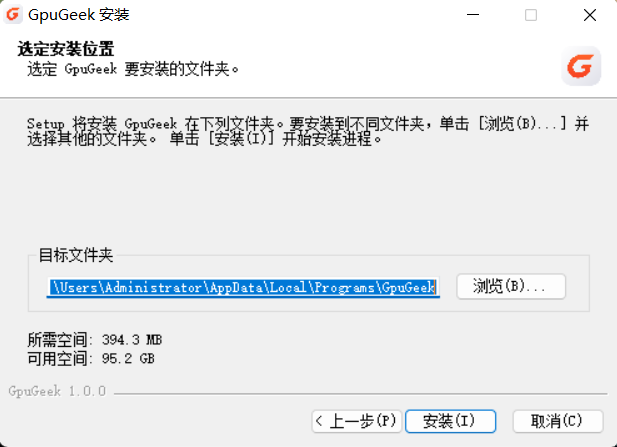
- Select the installation directory.
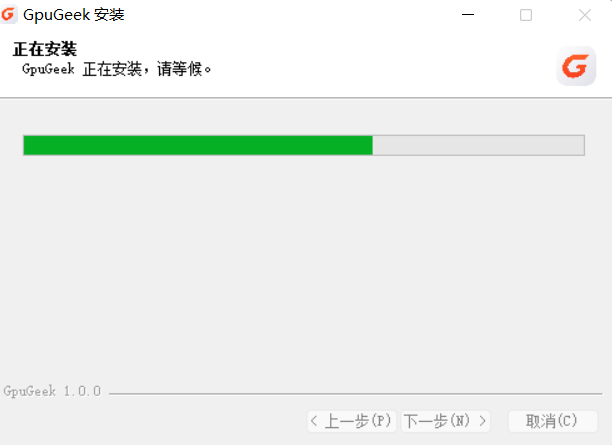
- Installation in progress, just wait.
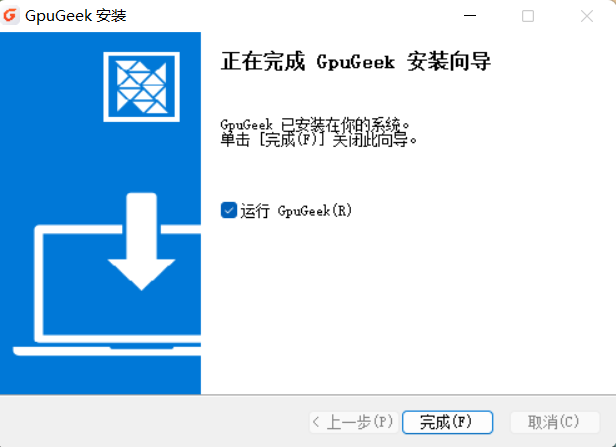
- Installation successful.
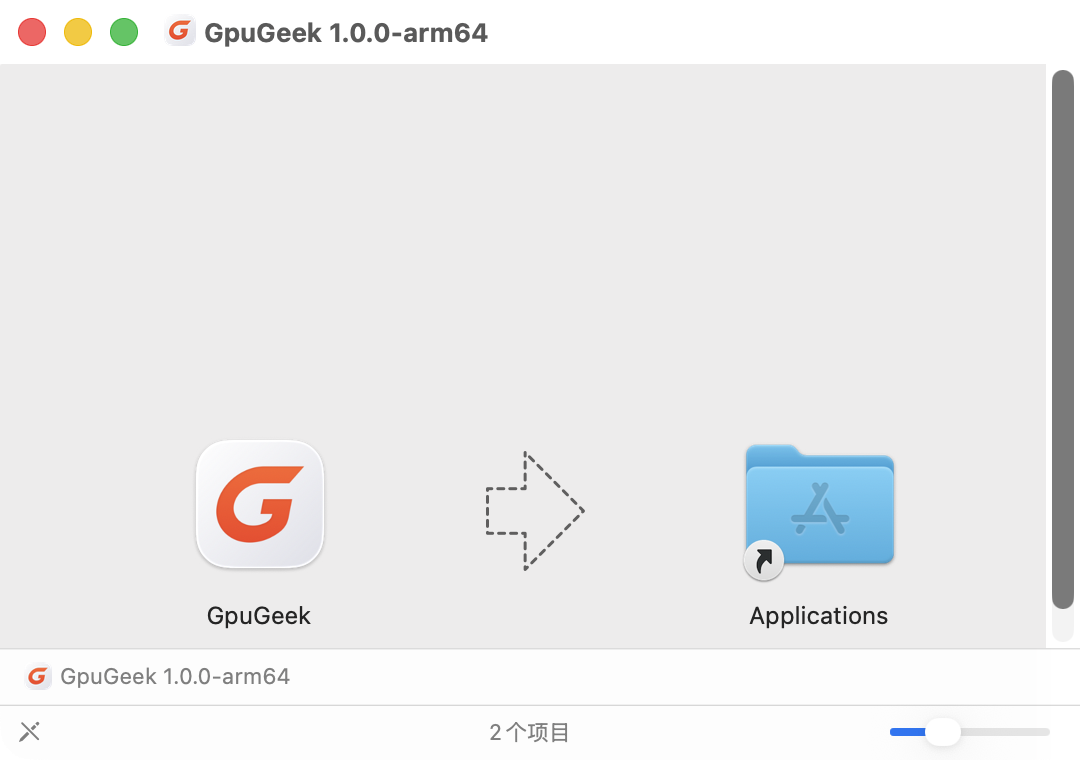
macOS Version
- Drag the application to the Applications folder to complete the installation.
Note:
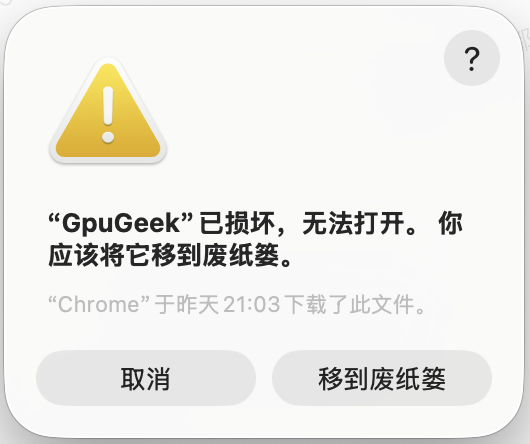
① After installation, if the first launch prompts corruption:
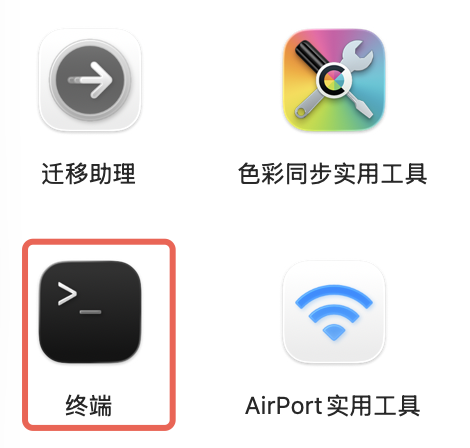
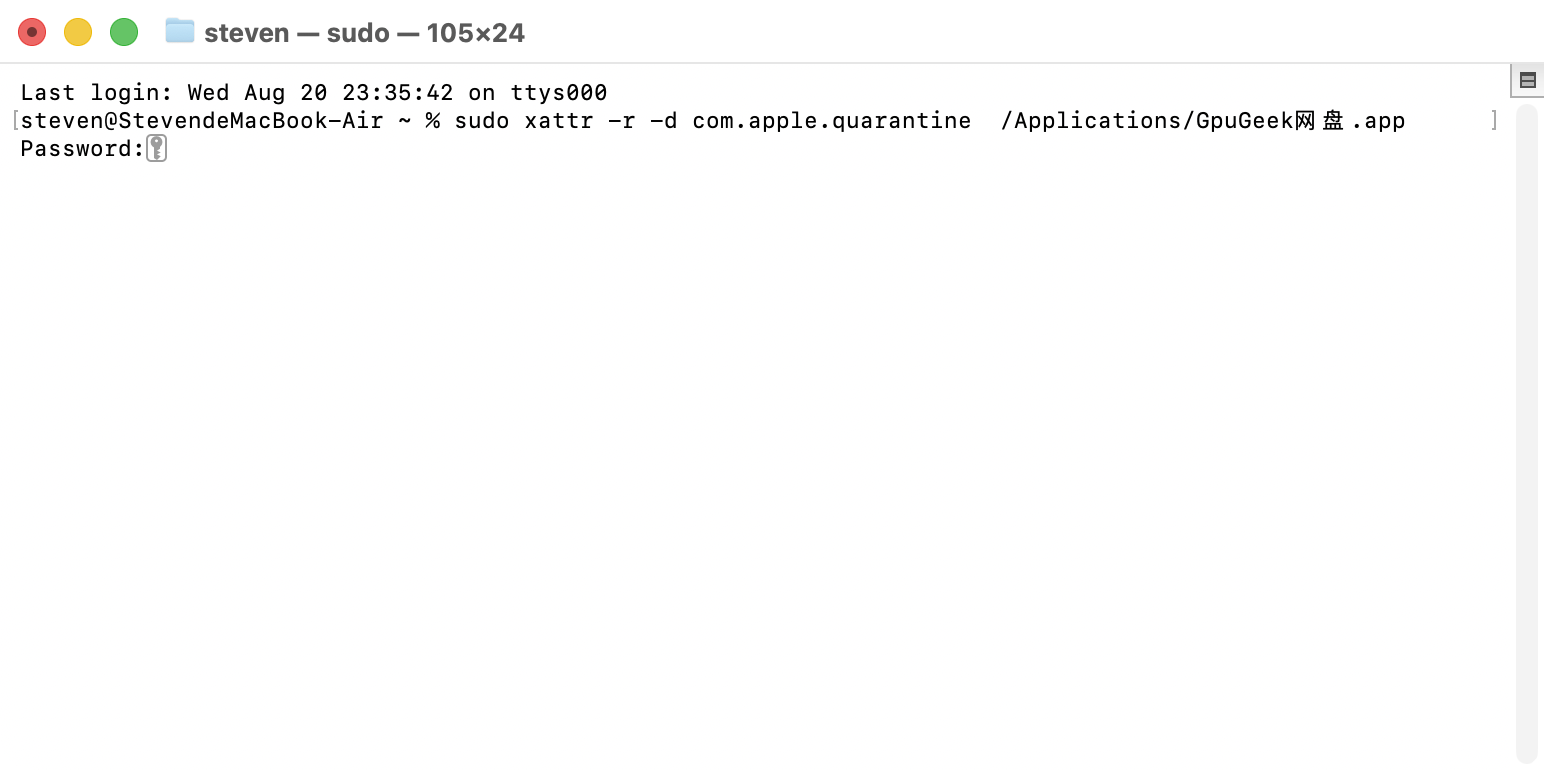
② Open the macOS Terminal and run the following command:
sudo xattr -r -d com.apple.quarantine /Applications/GpuGeek网盘.app
(Password input will not be displayed, this is normal. Press Enter to confirm.)
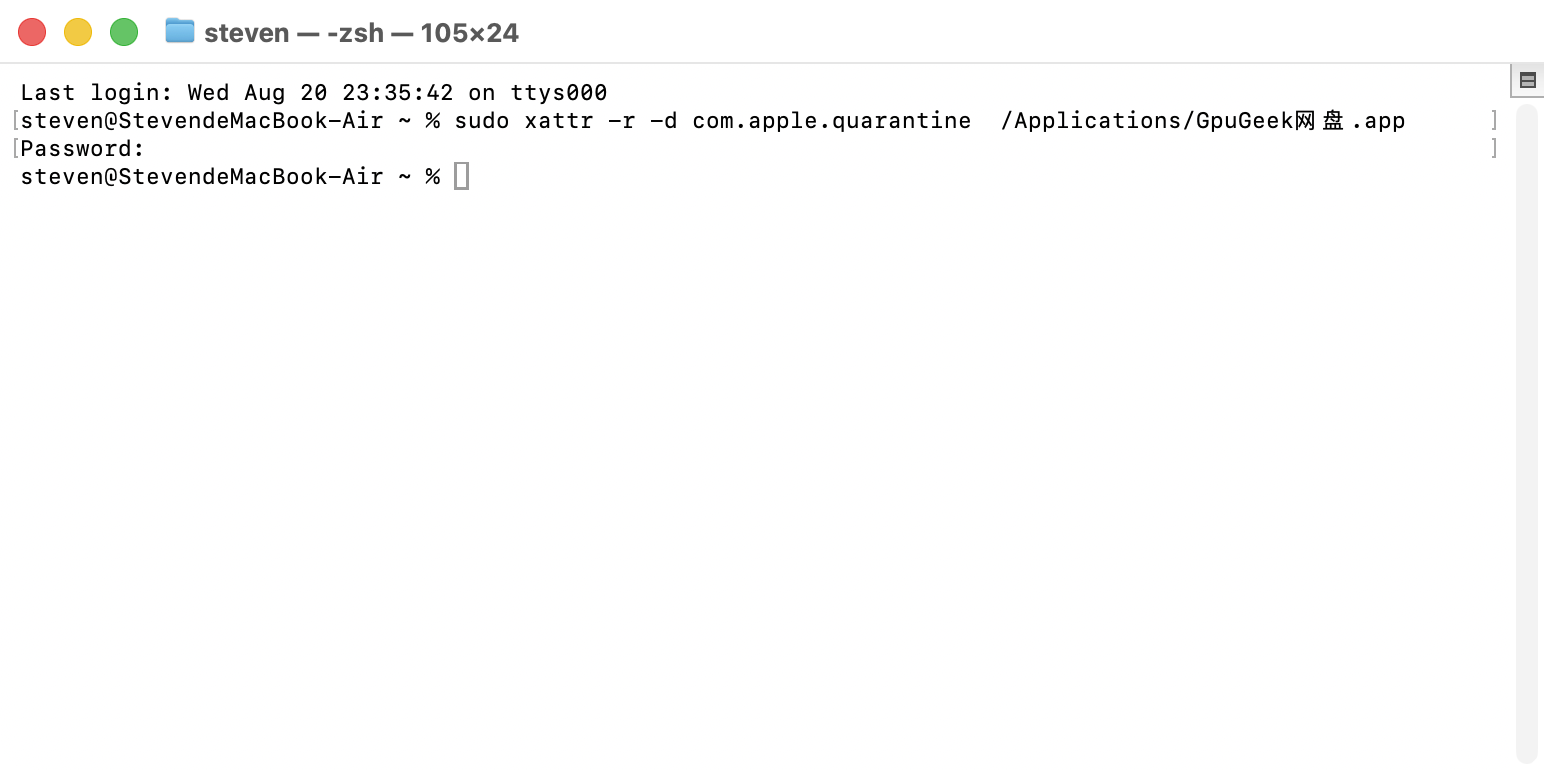
③ Reopen the GpuGeek Net Disk client to use normally.
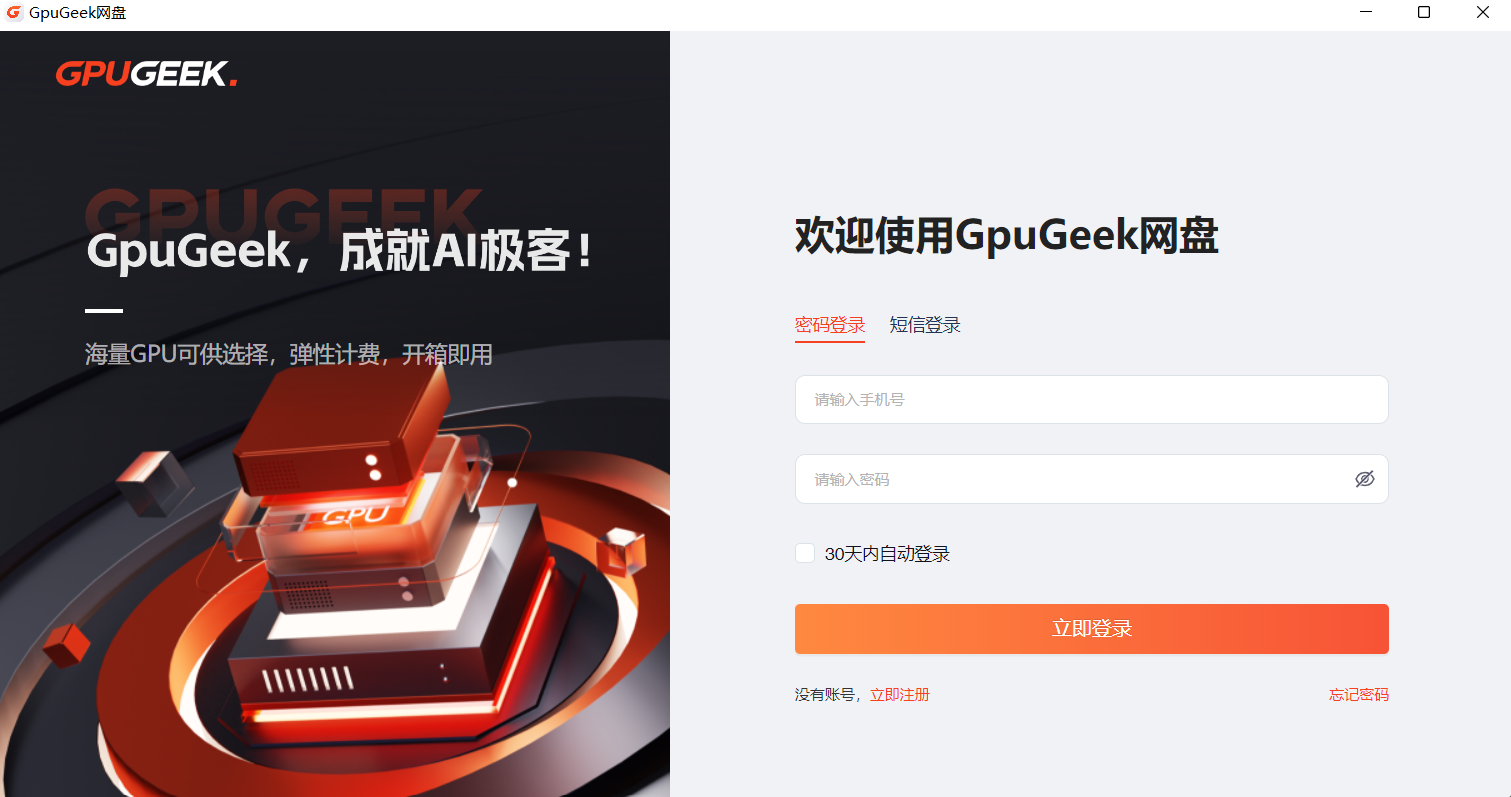
IV. Login to Client
The client provides two login methods: password login and verification code login. Users can choose either.
(The account used for the client is the same as the GpuGeek platform account.)
If "Auto Login" is checked, you won’t need to log in again for 30 days. If unchecked, you won’t need to log in again for 7 days.
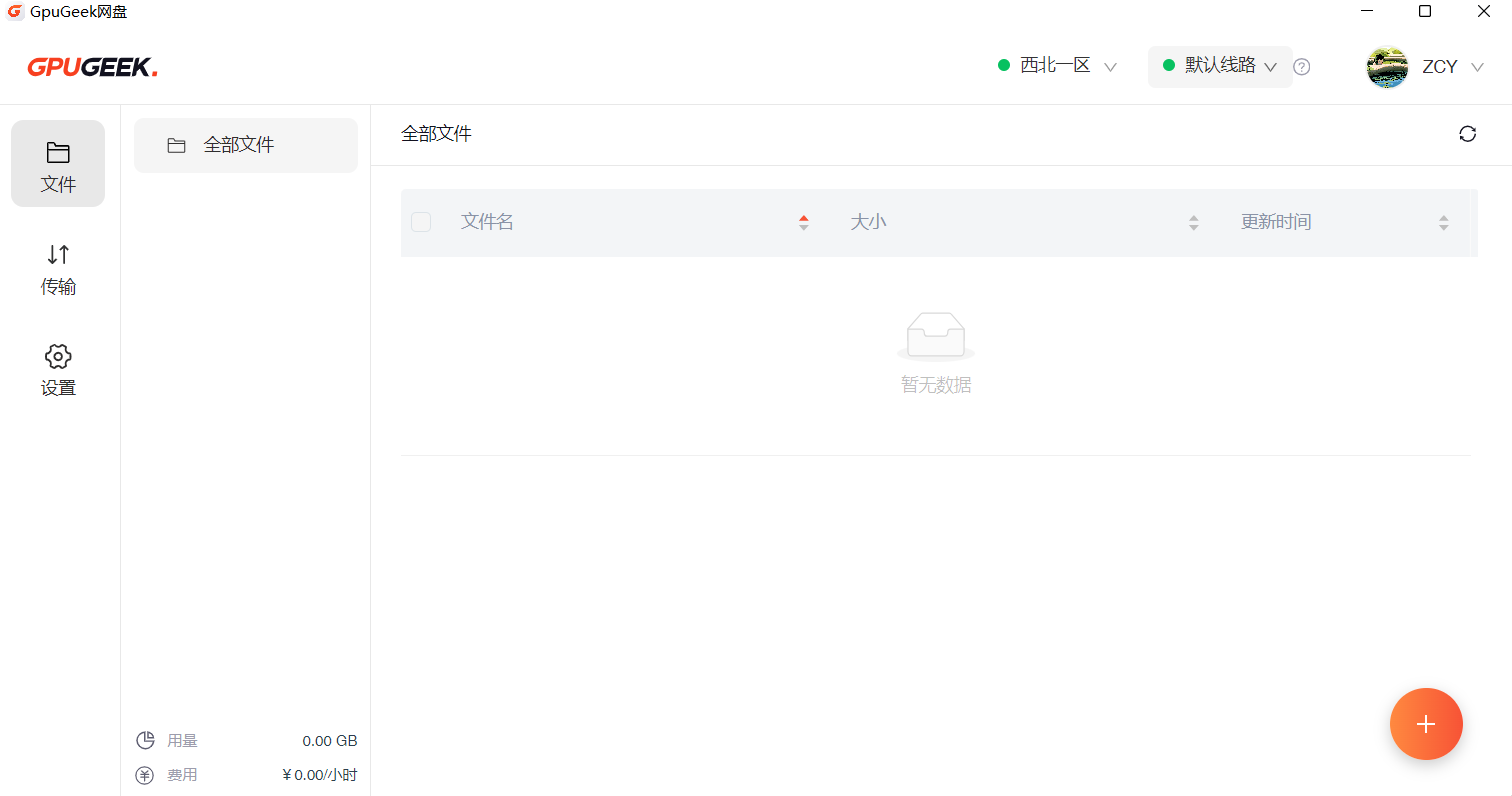
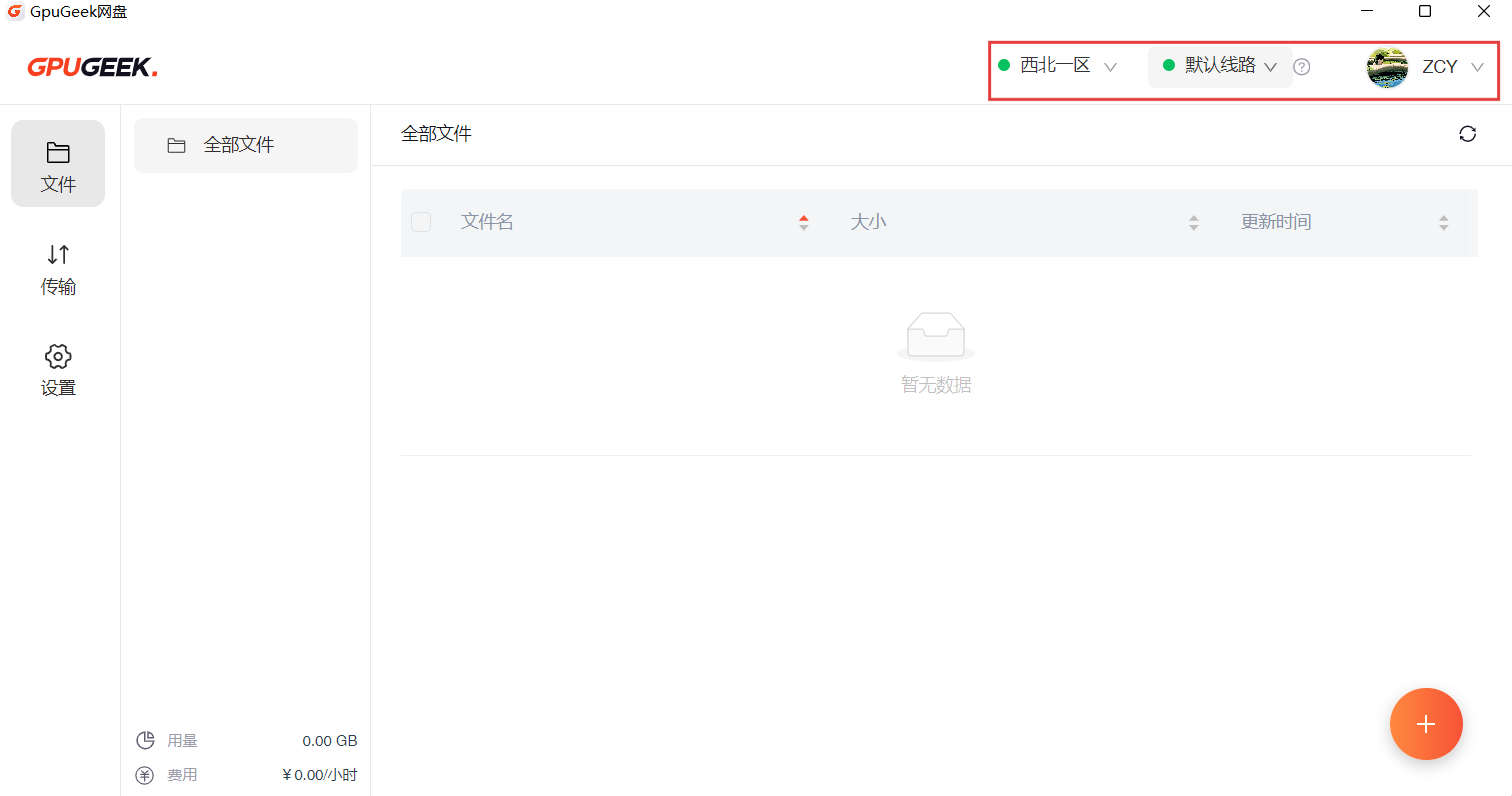
V. Client Interface Overview
At the top, you can select the Net Disk storage zone. Notifications for new version updates will also appear at the top.
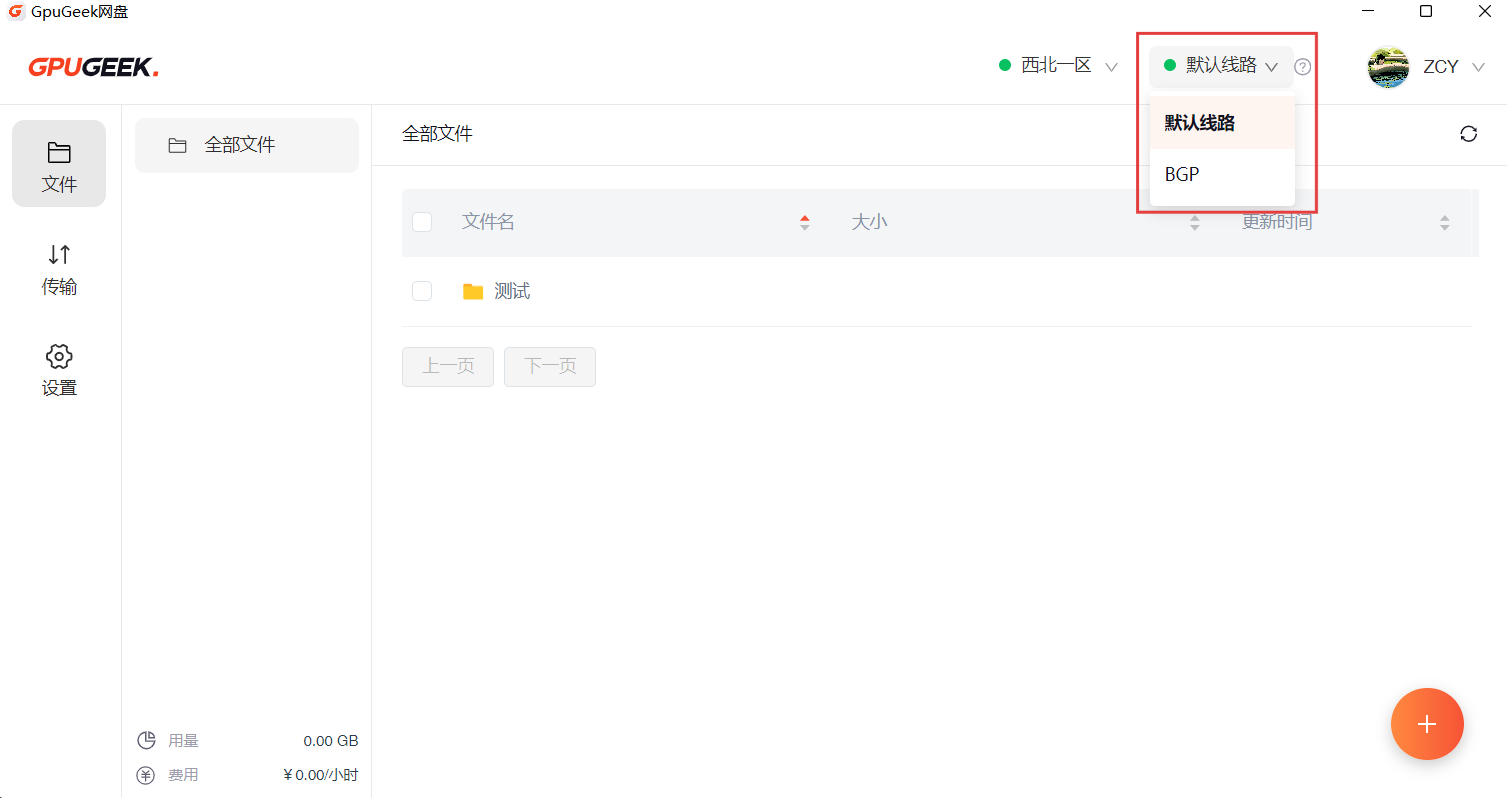
When the network transfer speed is slow, you can switch lines.
On the right side, in the avatar and nickname area, you can navigate to Personal Center, User Guide, or Logout.
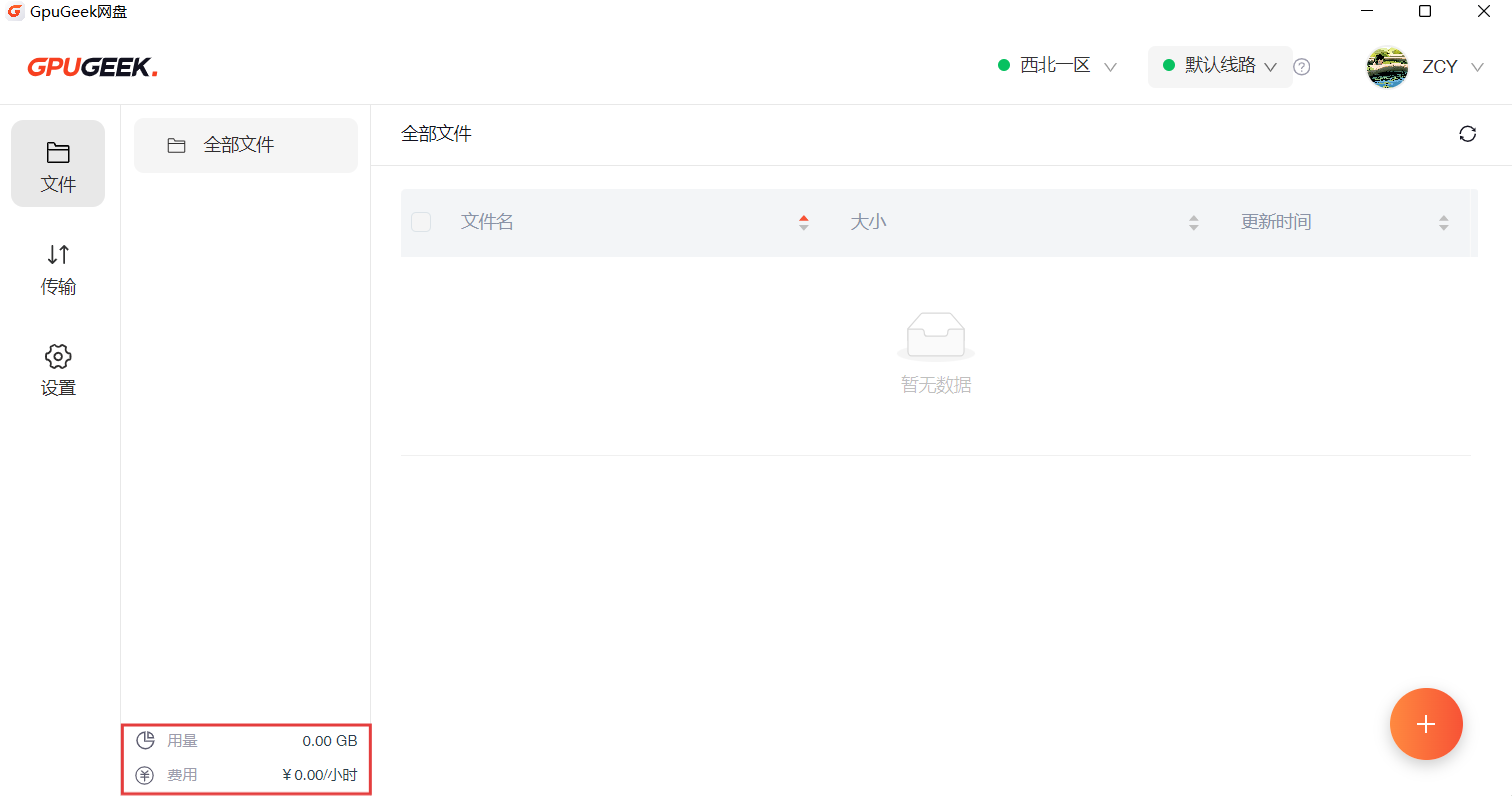
VI. Billing
At the bottom-left of the interface, the used storage space and hourly storage fees are displayed for reference. The fee updates in real-time according to usage.
VII. Getting Started
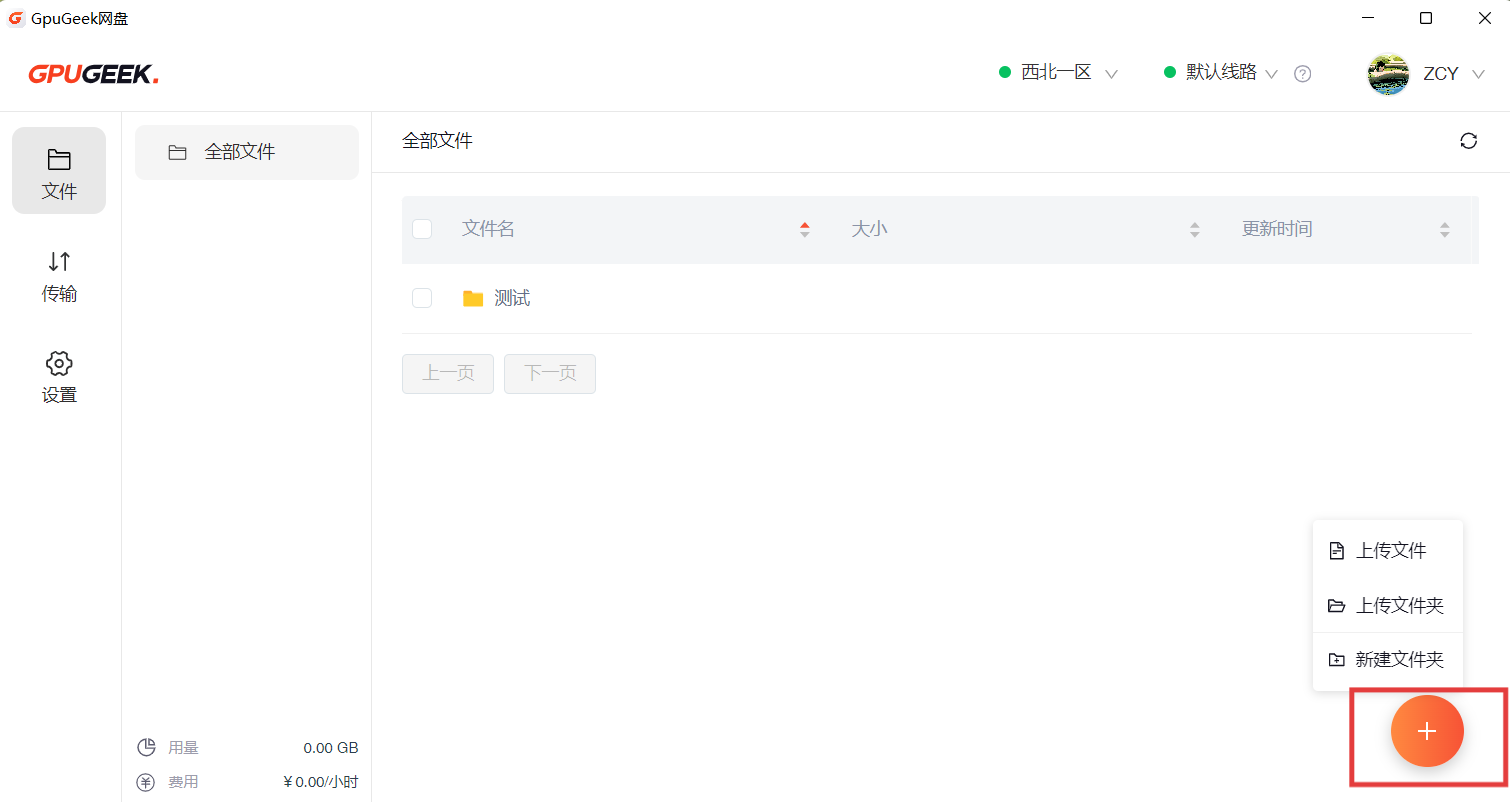
1. Upload Files
At the bottom-right, click + to upload. Select Upload File or Upload Folder to upload local files or folders.
Choose New Folder to create a folder in the Net Disk.
During upload, you can view the progress. You can pause or cancel a single file, or batch control all to start or pause.
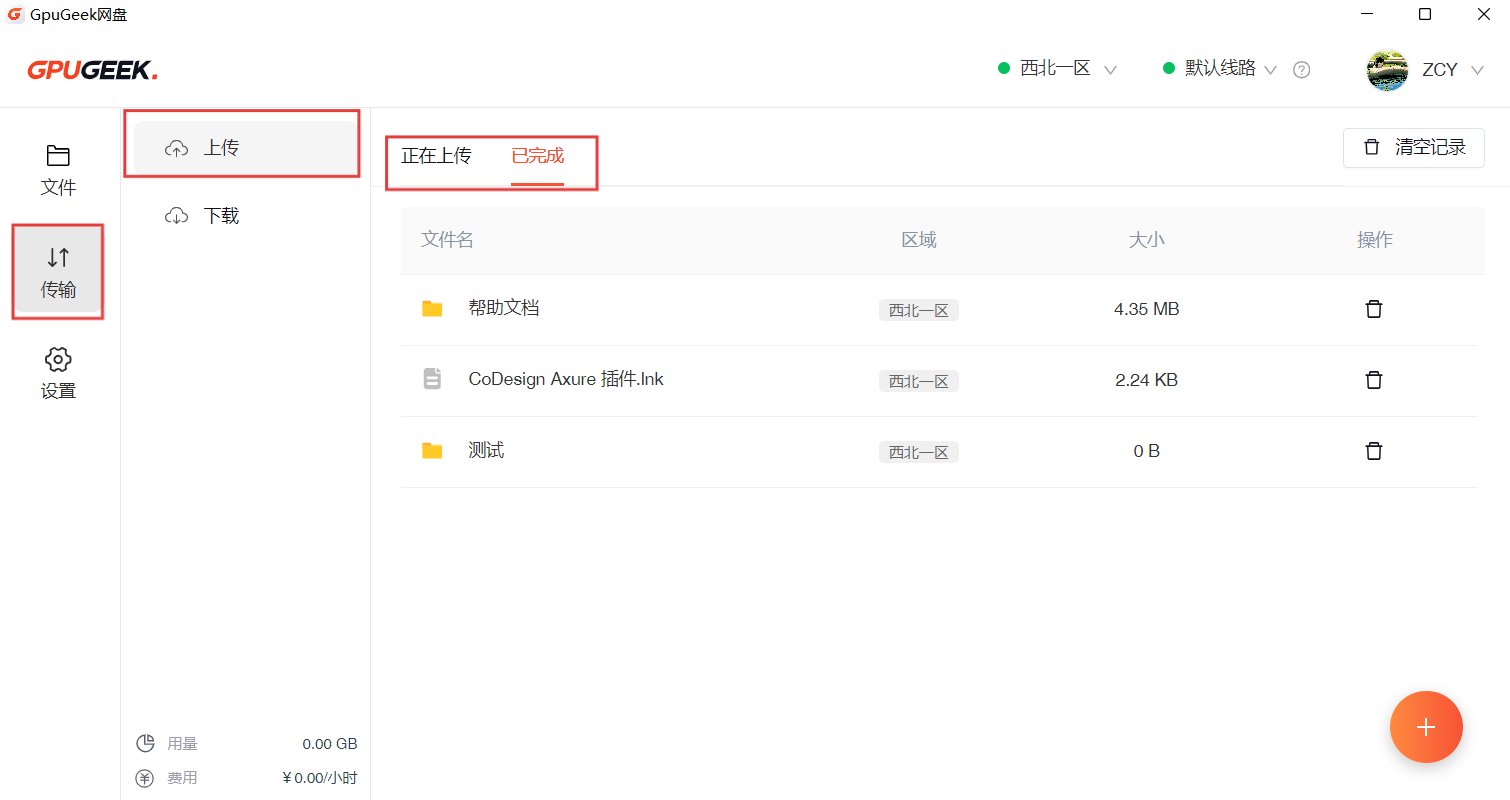
After completion, you can view successful upload records in the Completed tab and delete records if needed.
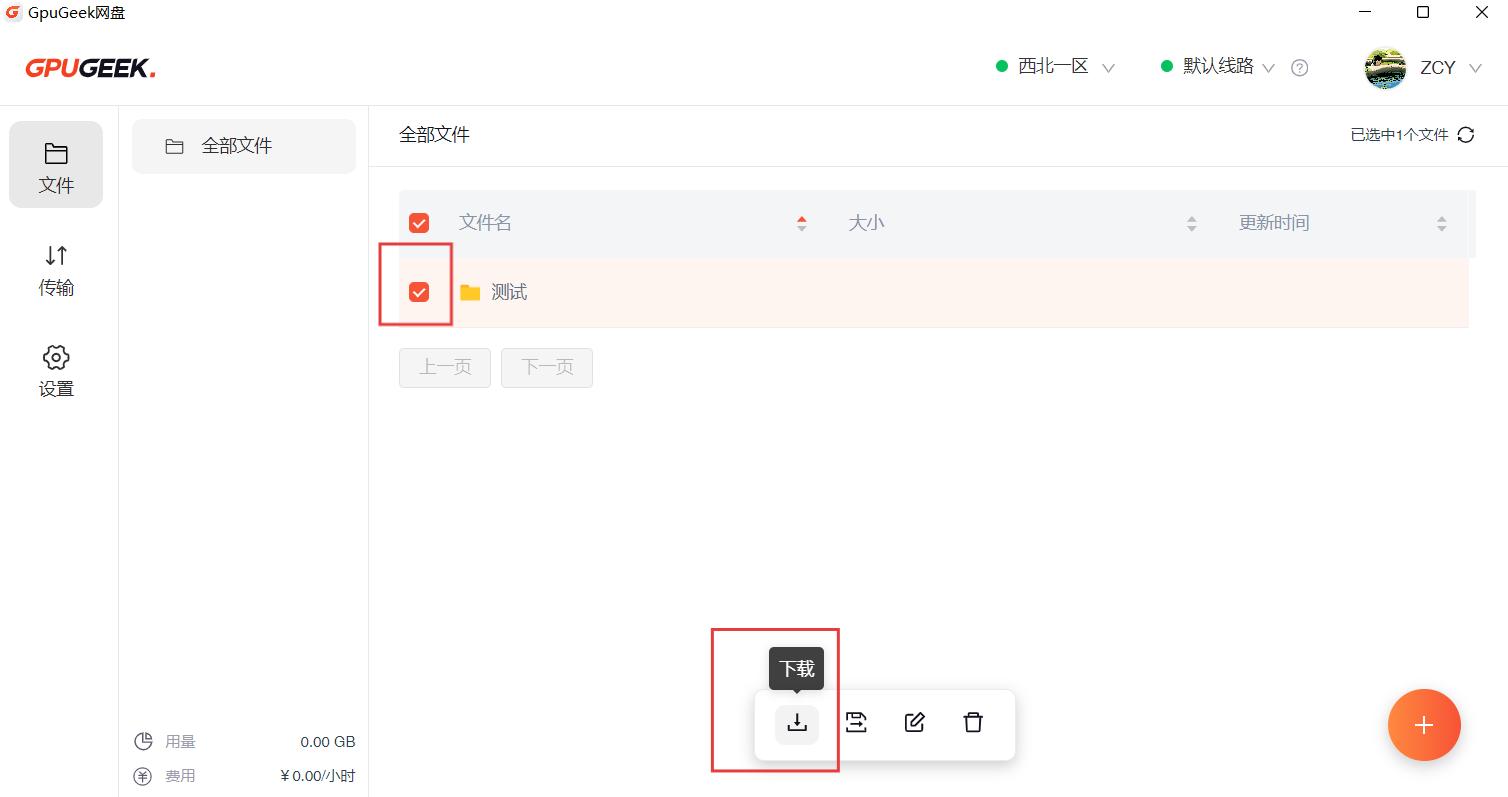
2. Download Files
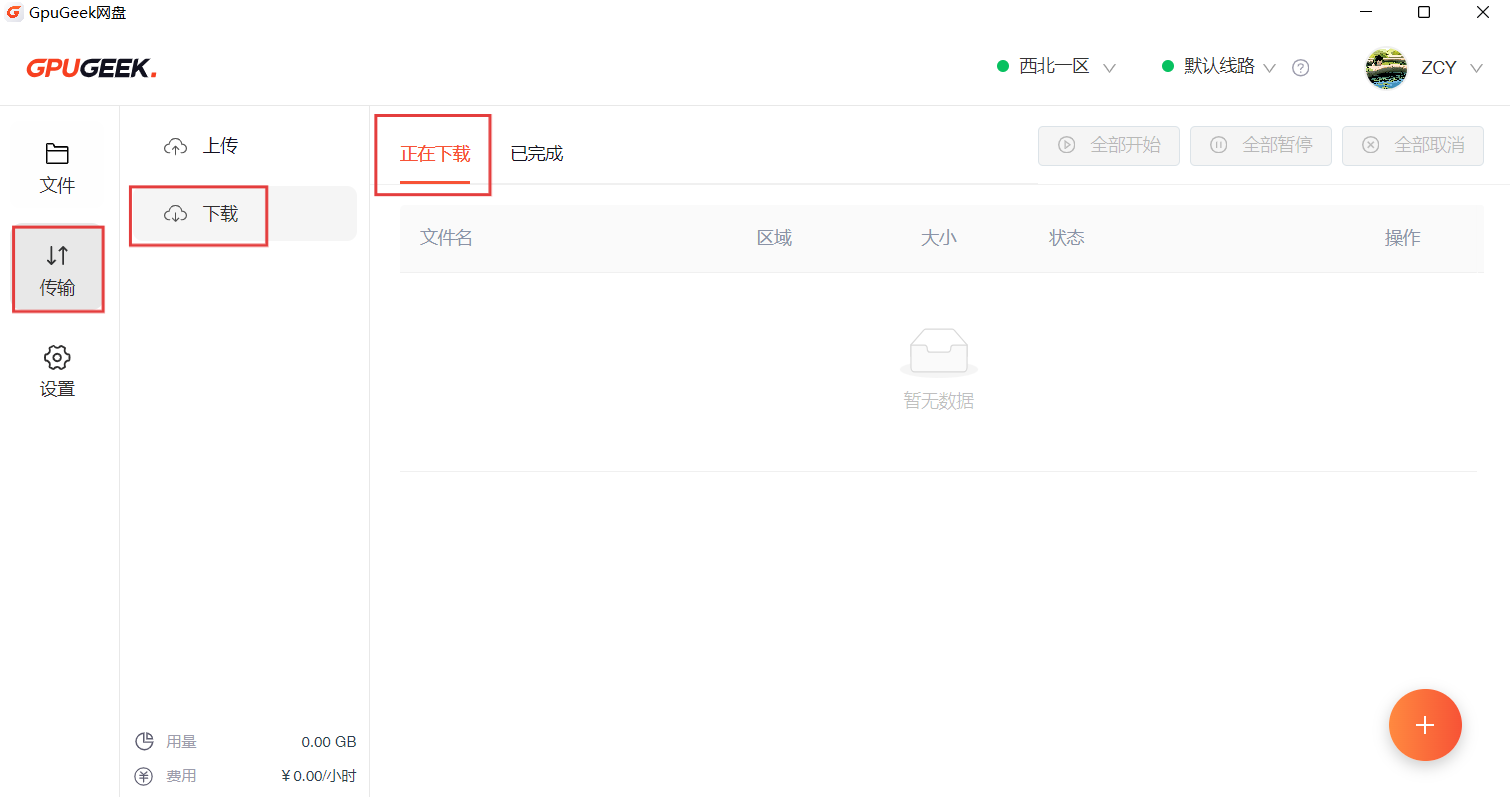
In the Files tab, you can see uploaded files. Select a file to download, and view progress in the Transfers tab.
The download directory can be changed in Settings.
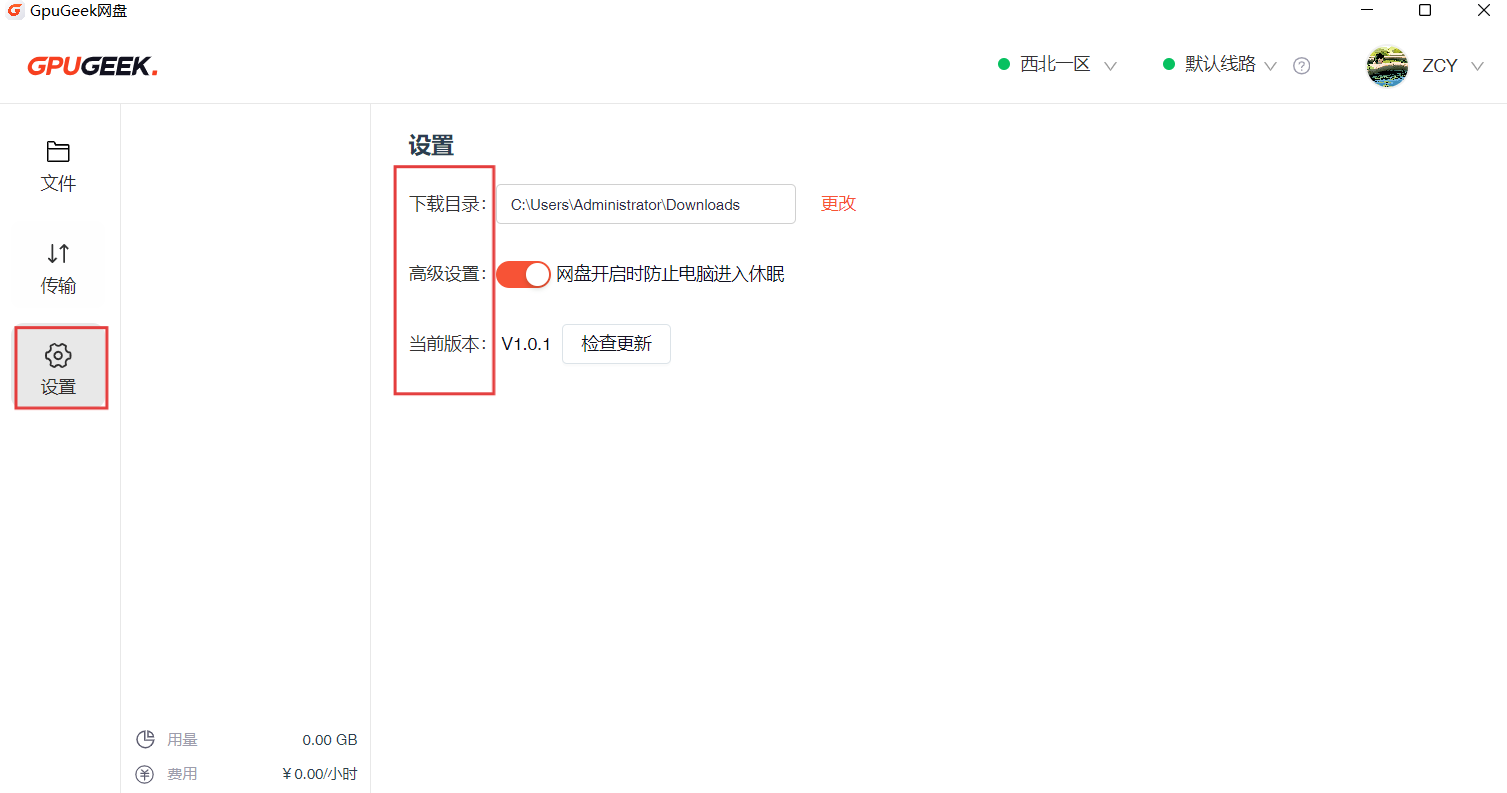
3. Settings
In the Settings tab, you can change the download directory.
In Advanced Settings, enabling it will prevent the computer from going to sleep.
Check for Updates lets you download the latest client version.
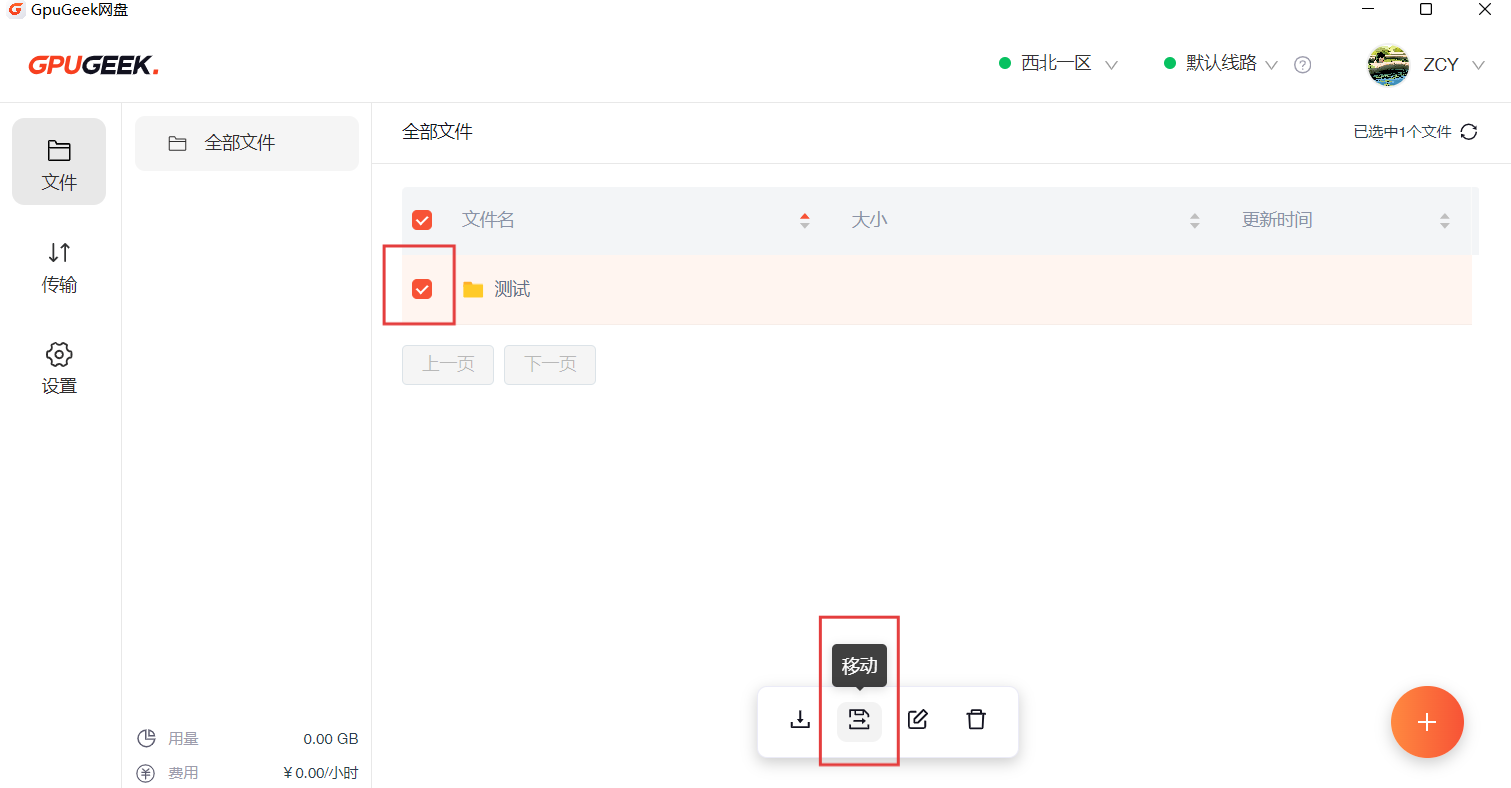
4. Move Files
In the Files tab, after selecting a file, click the Move button to move it to another folder.
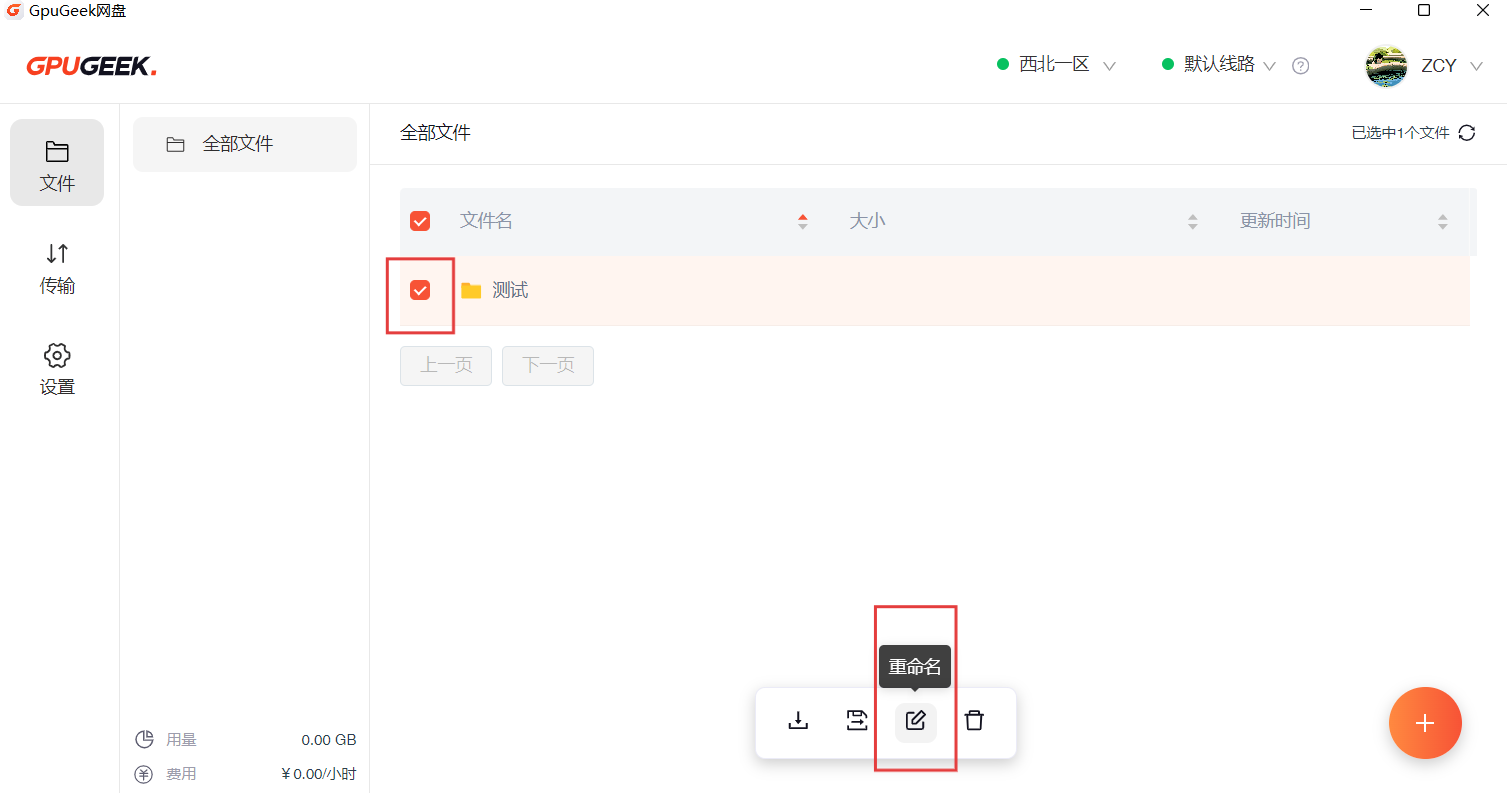
5. Rename Files
In the Files tab, after selecting a file, click the Rename button to rename the file or folder.
6. Delete Files
In the Files tab, after selecting a file, click the Delete button to delete the file or folder.

7. Breakpoint Resume
If uploads/downloads are interrupted due to network issues, you can resume by clicking the Start icon after the network recovers. If the file has not changed, the upload/download will resume from the previous progress.
8. Switch Lines
If transfer speed is slow, try switching lines.